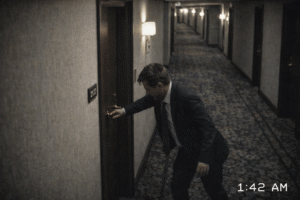
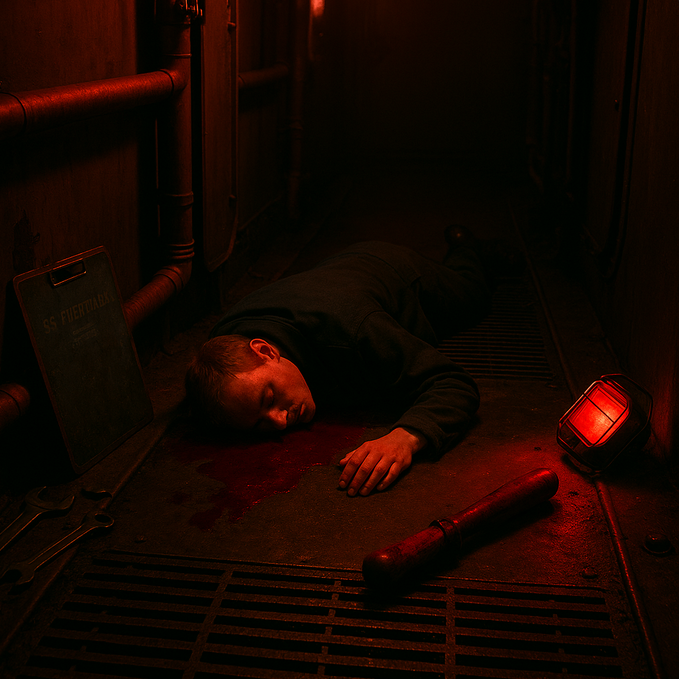
The Bullet
Press play
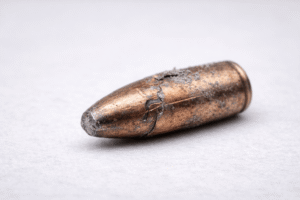
BALLISTICS NOTE – RECOVERED PROJECTILE
Recovered item is a deformed copper-jacketed rifle projectile. No casing was recovered at the scene.
Preliminary measurements indicate a diameter consistent with 7.62mm (.30 calibre) class rifle ammunition.
The projectile exhibits moderate nose deformation and minor jacket separation. Microscopic particulate consistent with gypsum and light concrete composite material was identified within surface grooves.
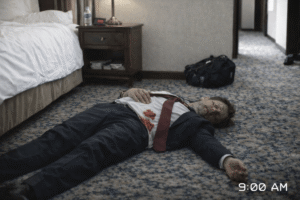
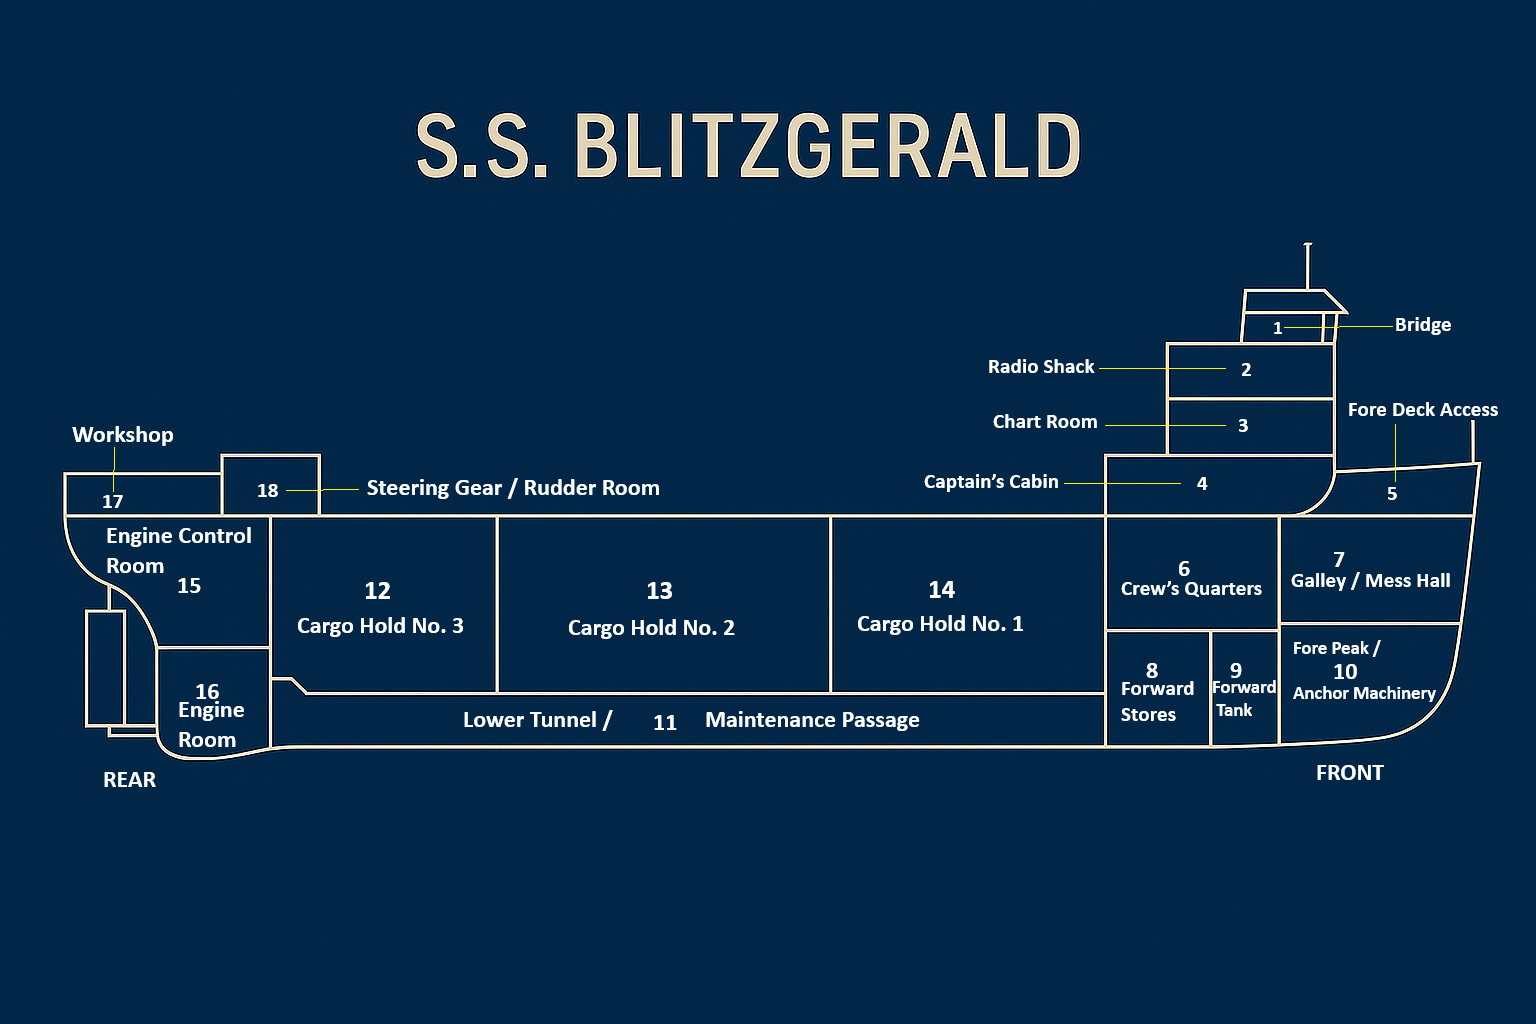
A full inspection of the hotel room interior was conducted. No lateral entry defect or wall penetration was identified. Adjacent rooms (2126 and 2128) were assessed and show no corresponding discharge or structural damage.
The projectile is therefore unlikely to have originated from the same level.
Further ballistic comparison pending.
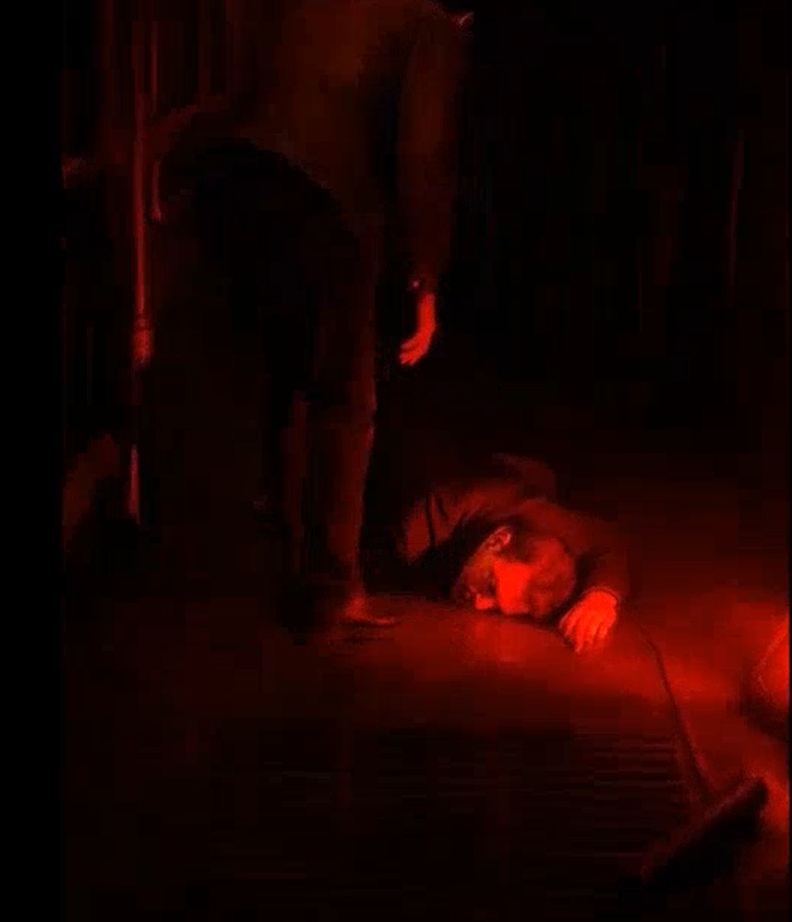
The buildings
Press play
Building 1 – Commercial Structure (Sealed Windows)
Overview
Building 1 is a commercial office structure positioned opposite the hotel.
Physical Constraints
• All external windows are permanently sealed and non-operable
• No balconies or external ledges suitable for firing positions
• Rooftop access is monitored by fixed surveillance cameras
Security Review
• Rooftop camera footage reviewed for the full incident window
• No movement detected
• No unauthorised access events recorded
• No loitering or equipment staging observed
Given that:
• Windows cannot be opened
• No external firing platform exists
• Rooftop footage shows no activity
A discharge from this building would require firing through commercial-grade sealed glass from inside an office space, leaving interior ballistic and glass signatures.
No such damage or disturbance was found.
Conclusion
Building 1 is eliminated as a viable origin point due to lack of any physical firing position and absence of rooftop activity.
Building 2 – Residential High-Rise Tower
Scope Reduction
The tower contains 200+ residential units.
Line-of-sight mapping determined:
• Only approximately 50 units had any potential visual corridor toward Room 2127
• Structural overhangs, balcony dividers, and façade alignment eliminated the remainder
Further narrowing focused on units with unobstructed angles.
Background and Occupant Screening
All residents within the 50 potential units were:
• Identified
• Interviewed
• Background screened
Results:
• 5 residents held firearm licences or had documented firearms experience
• The remaining residents’ background checks revealed only non-violent records (primarily financial offences or unrelated civil matters)
• No history of violent firearm-related crime among any resident in the potential line-of-sight group
Firearm Capability Assessment
The concrete penetration and 240m distance indicate:
• A high-energy rifle platform
• Precision optics
• Stable firing setup
None of the five firearm-licensed residents:
• Possessed rifles consistent with required calibre
• Reported missing or recently discharged firearms
• Showed evidence of recent ammunition purchase anomalies
• Exhibited residue indicators or behavioural red flags during interview
No evidence was found suggesting:
• Weapon transport
• Balcony setup
• Furniture repositioning
• Surface disturbance consistent with a firing platform
Behavioural and Environmental Review
• No prolonged balcony presence observed during incident window
• No abrupt light changes or curtain movement in relevant units
• No exterior rifle discharge reports from tower residents
• No secondary façade impact marks on the hotel exterior
Conclusion
For Building 2 to be the origin point, one of five identified firearm-capable residents would need to:
• Deploy a high-energy rifle capable of concrete penetration
• Establish a stable 240m firing position
• Achieve a lethal hit in a limited exposure window
• Leave no physical setup trace
• Avoid all visual and acoustic detection
Investigative findings do not support this scenario.
Building 2 is therefore eliminated as a credible source of the shot.
Additional elephant in the room
Additionally, the ballistic findings introduce a further complication: the projectile penetrated a concrete surface prior to striking the victim. At an approximate distance of 240 metres, this would require a high-energy rifle platform capable of maintaining significant velocity after impact. Such a discharge would demand a stable firing position, extended setup time, and would likely produce a pronounced acoustic signature and visible physical disturbance. No evidence of equipment staging, structural impact consistent with a cross-street origin, or associated exterior noise was identified in connection with either building. This additional ballistic requirement further reduces the plausibility of either structure serving as the source of the shot.